Using JMRI® to Operate Trains
OperationsPro: Add Staging Only
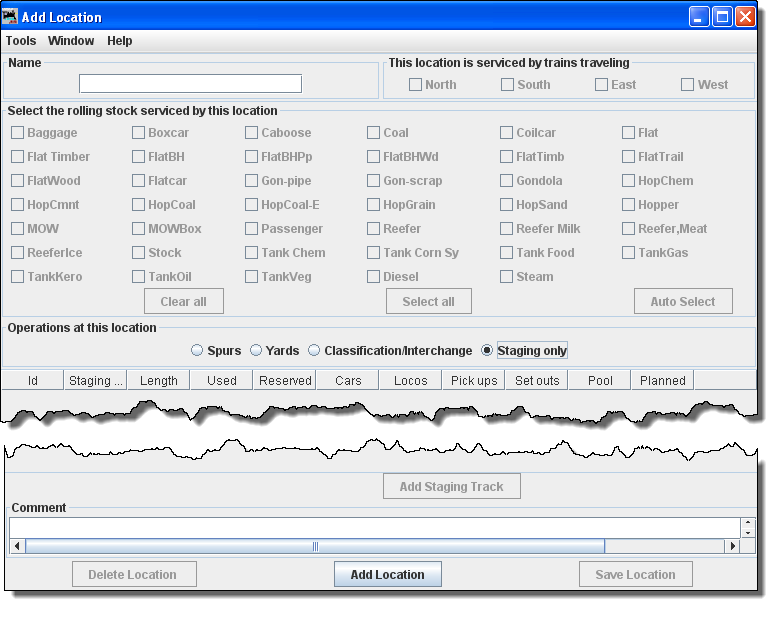
To add a Location with Tracks as Staging Only, open the
Add
Location window;
note most of the window is greyed out until the Location has
been added.
Define the Staging Location
Type a new Name for the Staging only Location (Area).
The Location Name must be unique; the program will not allow two Locations with identical names. However, if you want more than one Location to have the same name for your Manifests and Switch Lists, add a hyphen and a number to the locations name. For example, "Boston-1" and "Boston-2" will print as "Boston". The program will remove the hyphen and number when printing manifests and switch lists.
Select Operations (Tracks) at this location Staging Only, then press the at the bottom of the window.
This opens the Add Location window with all the options enabled.
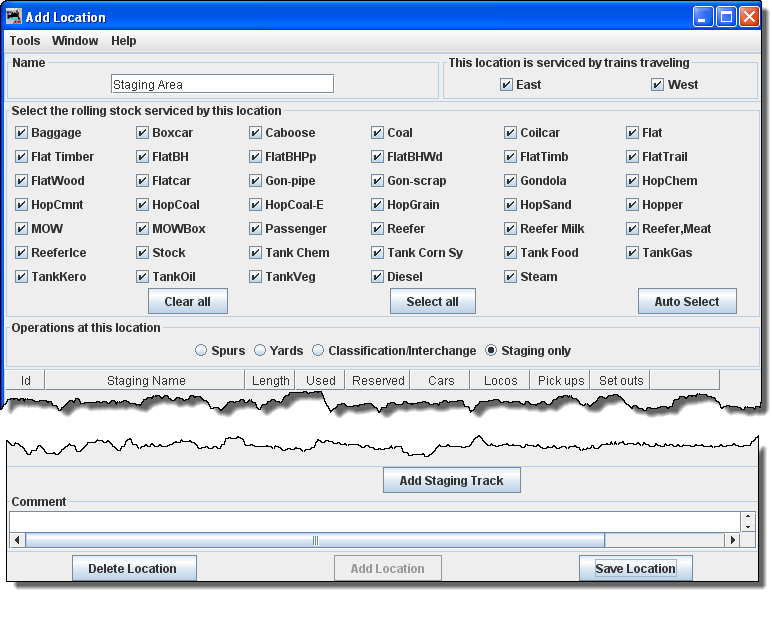
You may select This location is serviced by trains traveling, select at least one or any number of the directions depending on access to your staging. We have selected All directions for this staging Location.
You can decide which train direction the Location can service. For example, if only south bound trains can access the Location, select "South" and deselect the other directions. This can be useful if you want to support only trailing point switching for a given Location. If a Location can support multiple directions then select the ones that are appropriate.
Using Select the rolling stock serviced by this location you can control the rolling stock that a location can service. Push to deselect all types, or to select all types, then select or deselect the rolling stock you wish the location to accept.
Since we selected Operations (Tracks) at this location as Staging Only, the is now enabled near the bottom of the window.
We also have the option to or
Adding the Staging Tracks
A Staging Only area may contain one or more Tracks that must be defined next.
After you click on the Add Staging Track window is displayed, so that you can detail the staging one Track at a time.
 |
In Name type the name for the Staging Track to be serviced at this Location. Length of the Staging Track in scale feet. You may enter the measurement in actual inches as and the program will convert to the scale feet that you select during setup. Press the Staging Track is added and the greyed out features are activated. |
|
|
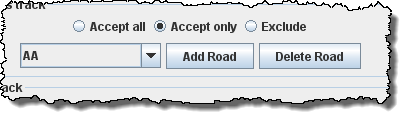
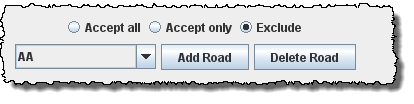
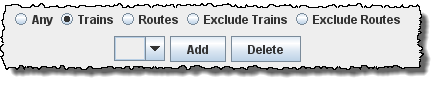
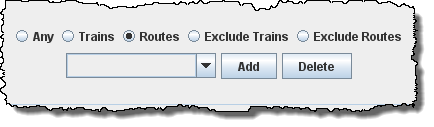
You may Select the roads serviced by this track Accept all Default accepts rolling stock from any railroad. Accept only Allows you to list the railroads whose rolling stock you will accept. Exclude Accept all rolling stock except from those railroads that are excluded. We will use the default. If you want to edit the Roads accepted go to Add Cars then Edit Roads, to add another selection to the Roads drop-down list. Select the loads serviced by this track Accept all Default accepts any load Accept only Allows you to select the loads you will accept. Exclude Select trains or routes for arrivals
any Trains Routes
Exclude Trains
Exclude Routes
Optional car load controls Swap default loads and empties Empty cars with default loads Optional custom car load controls Empty cars with custom loads Generated custom loads for spurs serviced by this train Generate custom loads for any spur (multiple trains) Optional Car Blocking Block cars by pickup location You may enter a Comment for the track. |
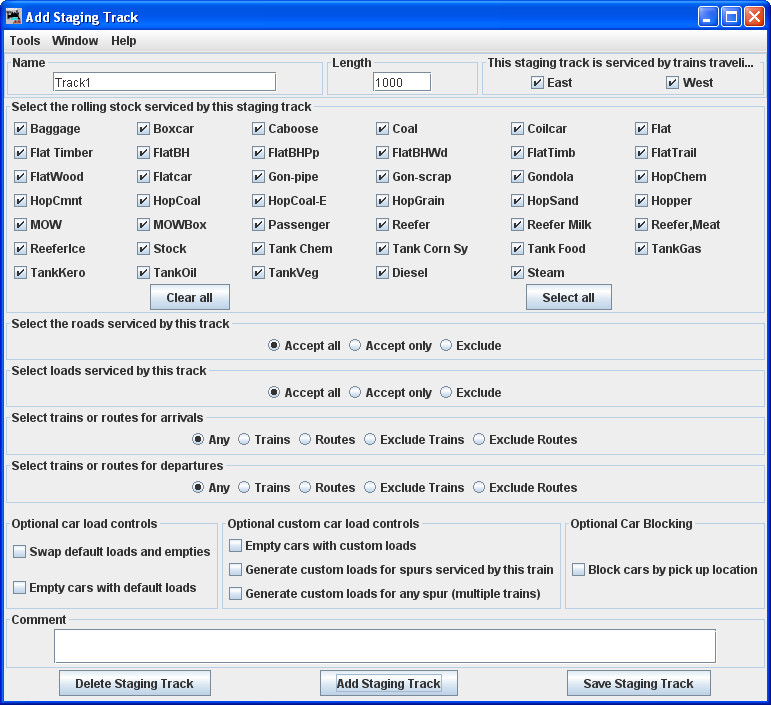


Now press to add the new Track to this Location or press if you do not want to store the Track.
If you want to add another Track to this Staging Only Location, enter new data and press to add another Track.
Note: if you are running a Train to and from the same Staging Location, you must define two Staging Tracks in OperationsPro, one to depart and one to return on. Physically, the Tracks can be the same physical staging track.
Close the Add Staging Track window when done with this Staging Location.
After completing the above actions our Add Location example window now shows one Staging Track ("Track1") in this Staging Area Location:
Changing a Staging Only Track
If you want to change information for any Track entry, press and the Edit Staging Track panel will open.
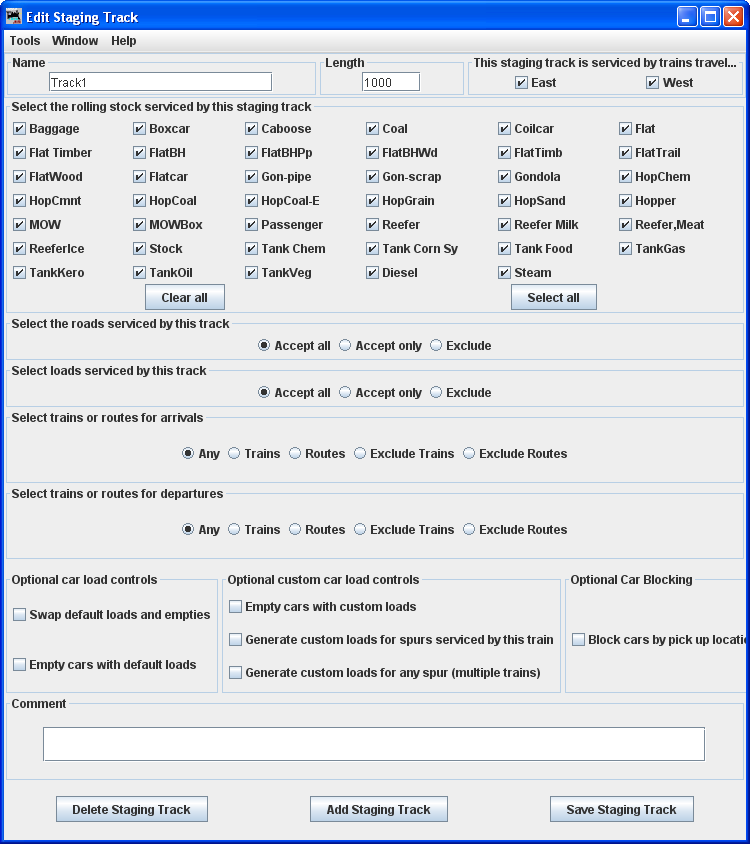 |
Note that it is identical to the Add Interchange and Yard Track panes except for the title. Change any of the entries that you want to edit and then click to save the changes. You may also from your database. |
When done with editing close the Add Staging
Track pane.
If you did not yet save your new Staging Location, select
in the Add Location pane
before you close that too.
You may add as many Locations and Tracks as needed to complete the description of your layout.